Power Won't Turn On — Step-by-Step LED Diagnosis
When Kachaka or Kachaka Pro doesn’t respond to the power button, it’s usually not a fault — it’s a power-supply or battery-charge issue. Work through the four checks below, following the LEDs in order, and you can usually pin down the cause.
Charge it before first use. A brand-new Kachaka ships with very little charge. Place the unit on its charging dock, run through the checks below, and let it charge fully before it will power on. From the second startup onward, if it won’t power on you can jump straight to Step 3 and check the LED on the body.
Before powering on, put Kachaka back on its charging dock, then run the four checks below in order.
Step 1: Check the AC adapter LED
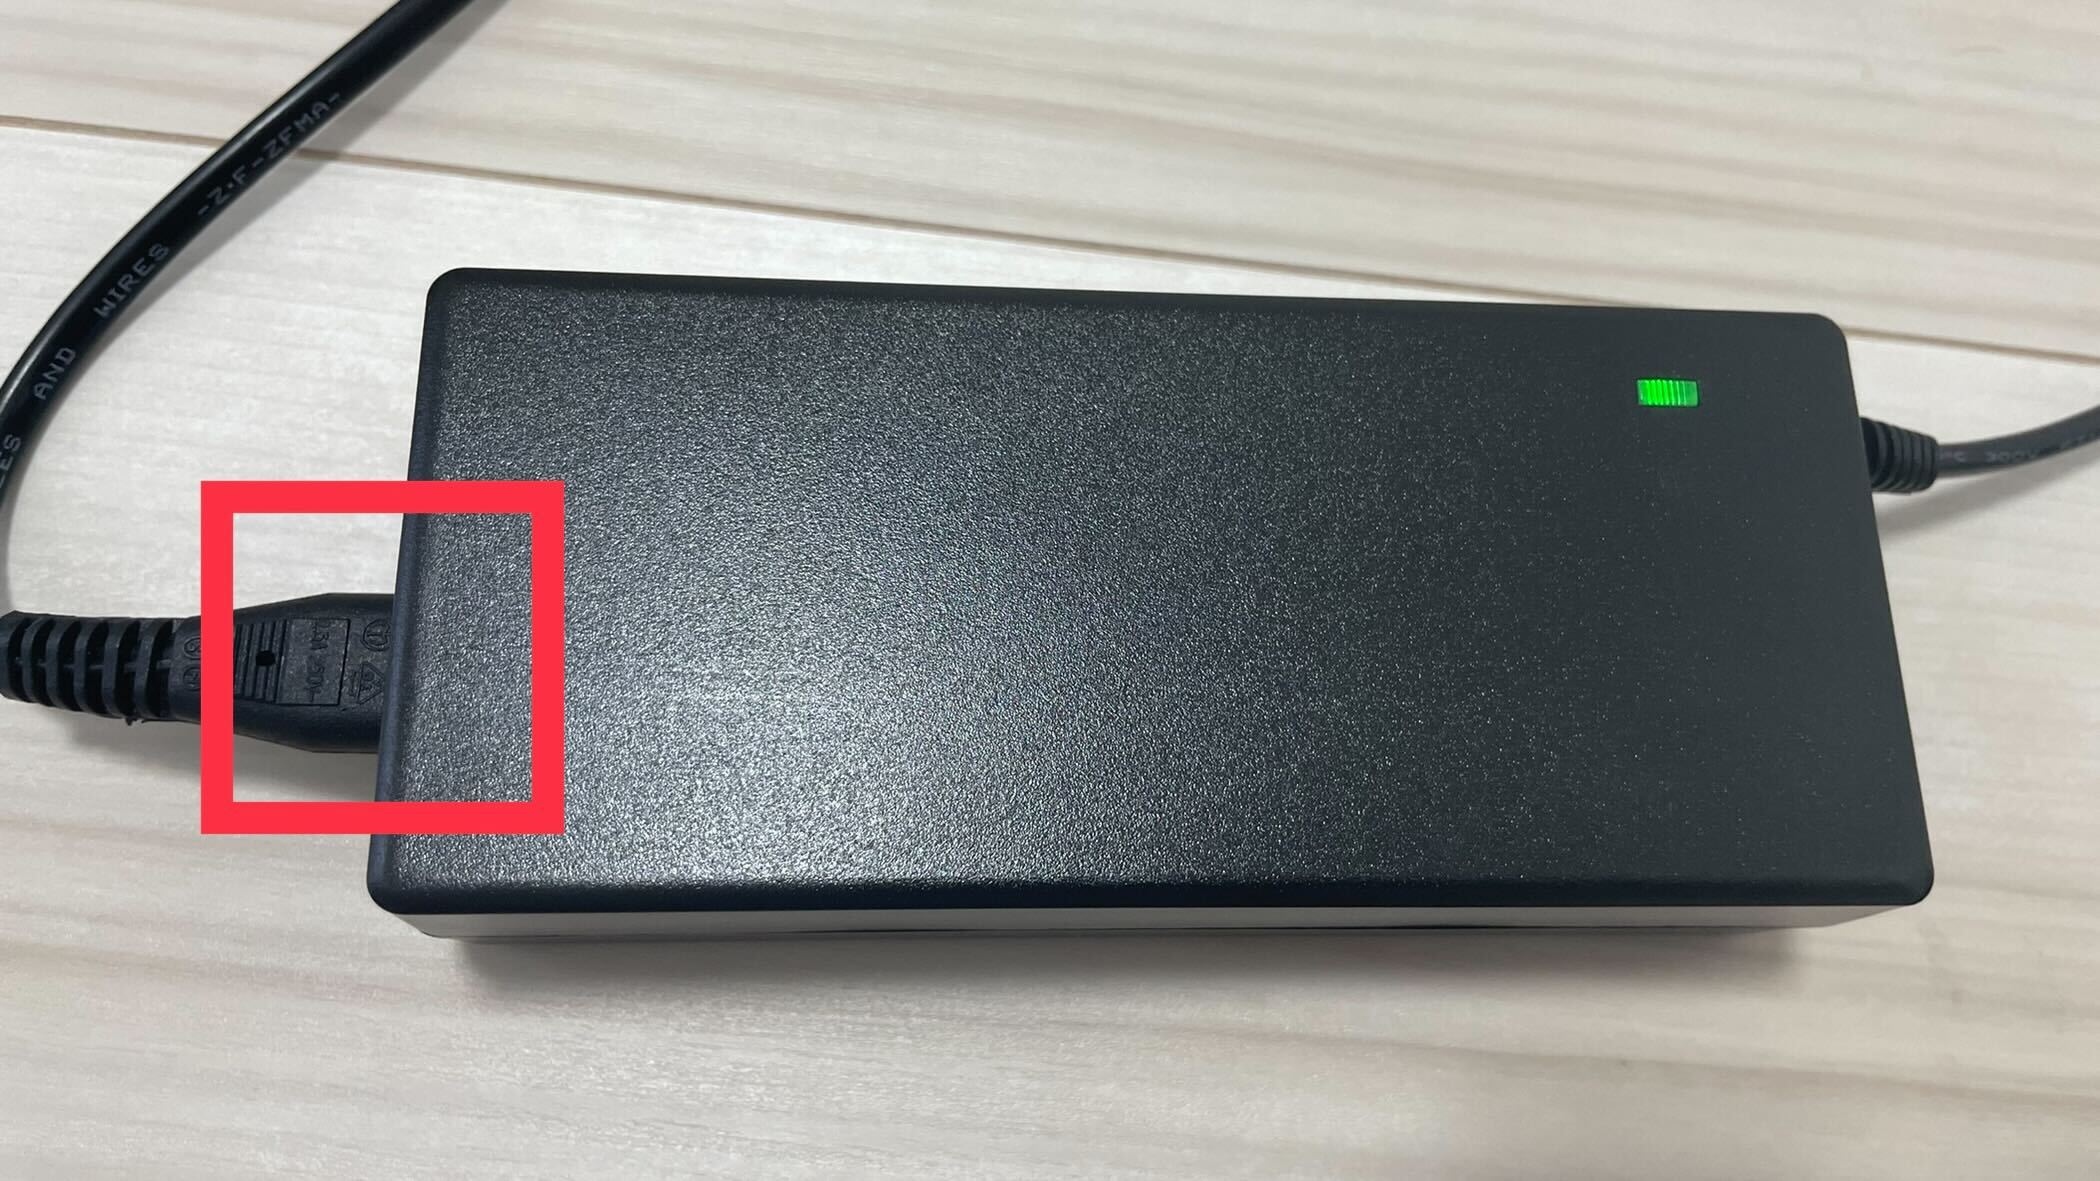
First confirm that power is reaching the unit. Look at the LED on the AC adapter (the block in the middle of the power cable):
- Solid green: Power is fine — go to Step 2.
- Off: No power is getting through. Make sure both ends of the adapter’s power cable are firmly seated — the wall-outlet end and the end that runs to the dock. Try a different outlet you know is live.
Step 2: Check the charging dock LED
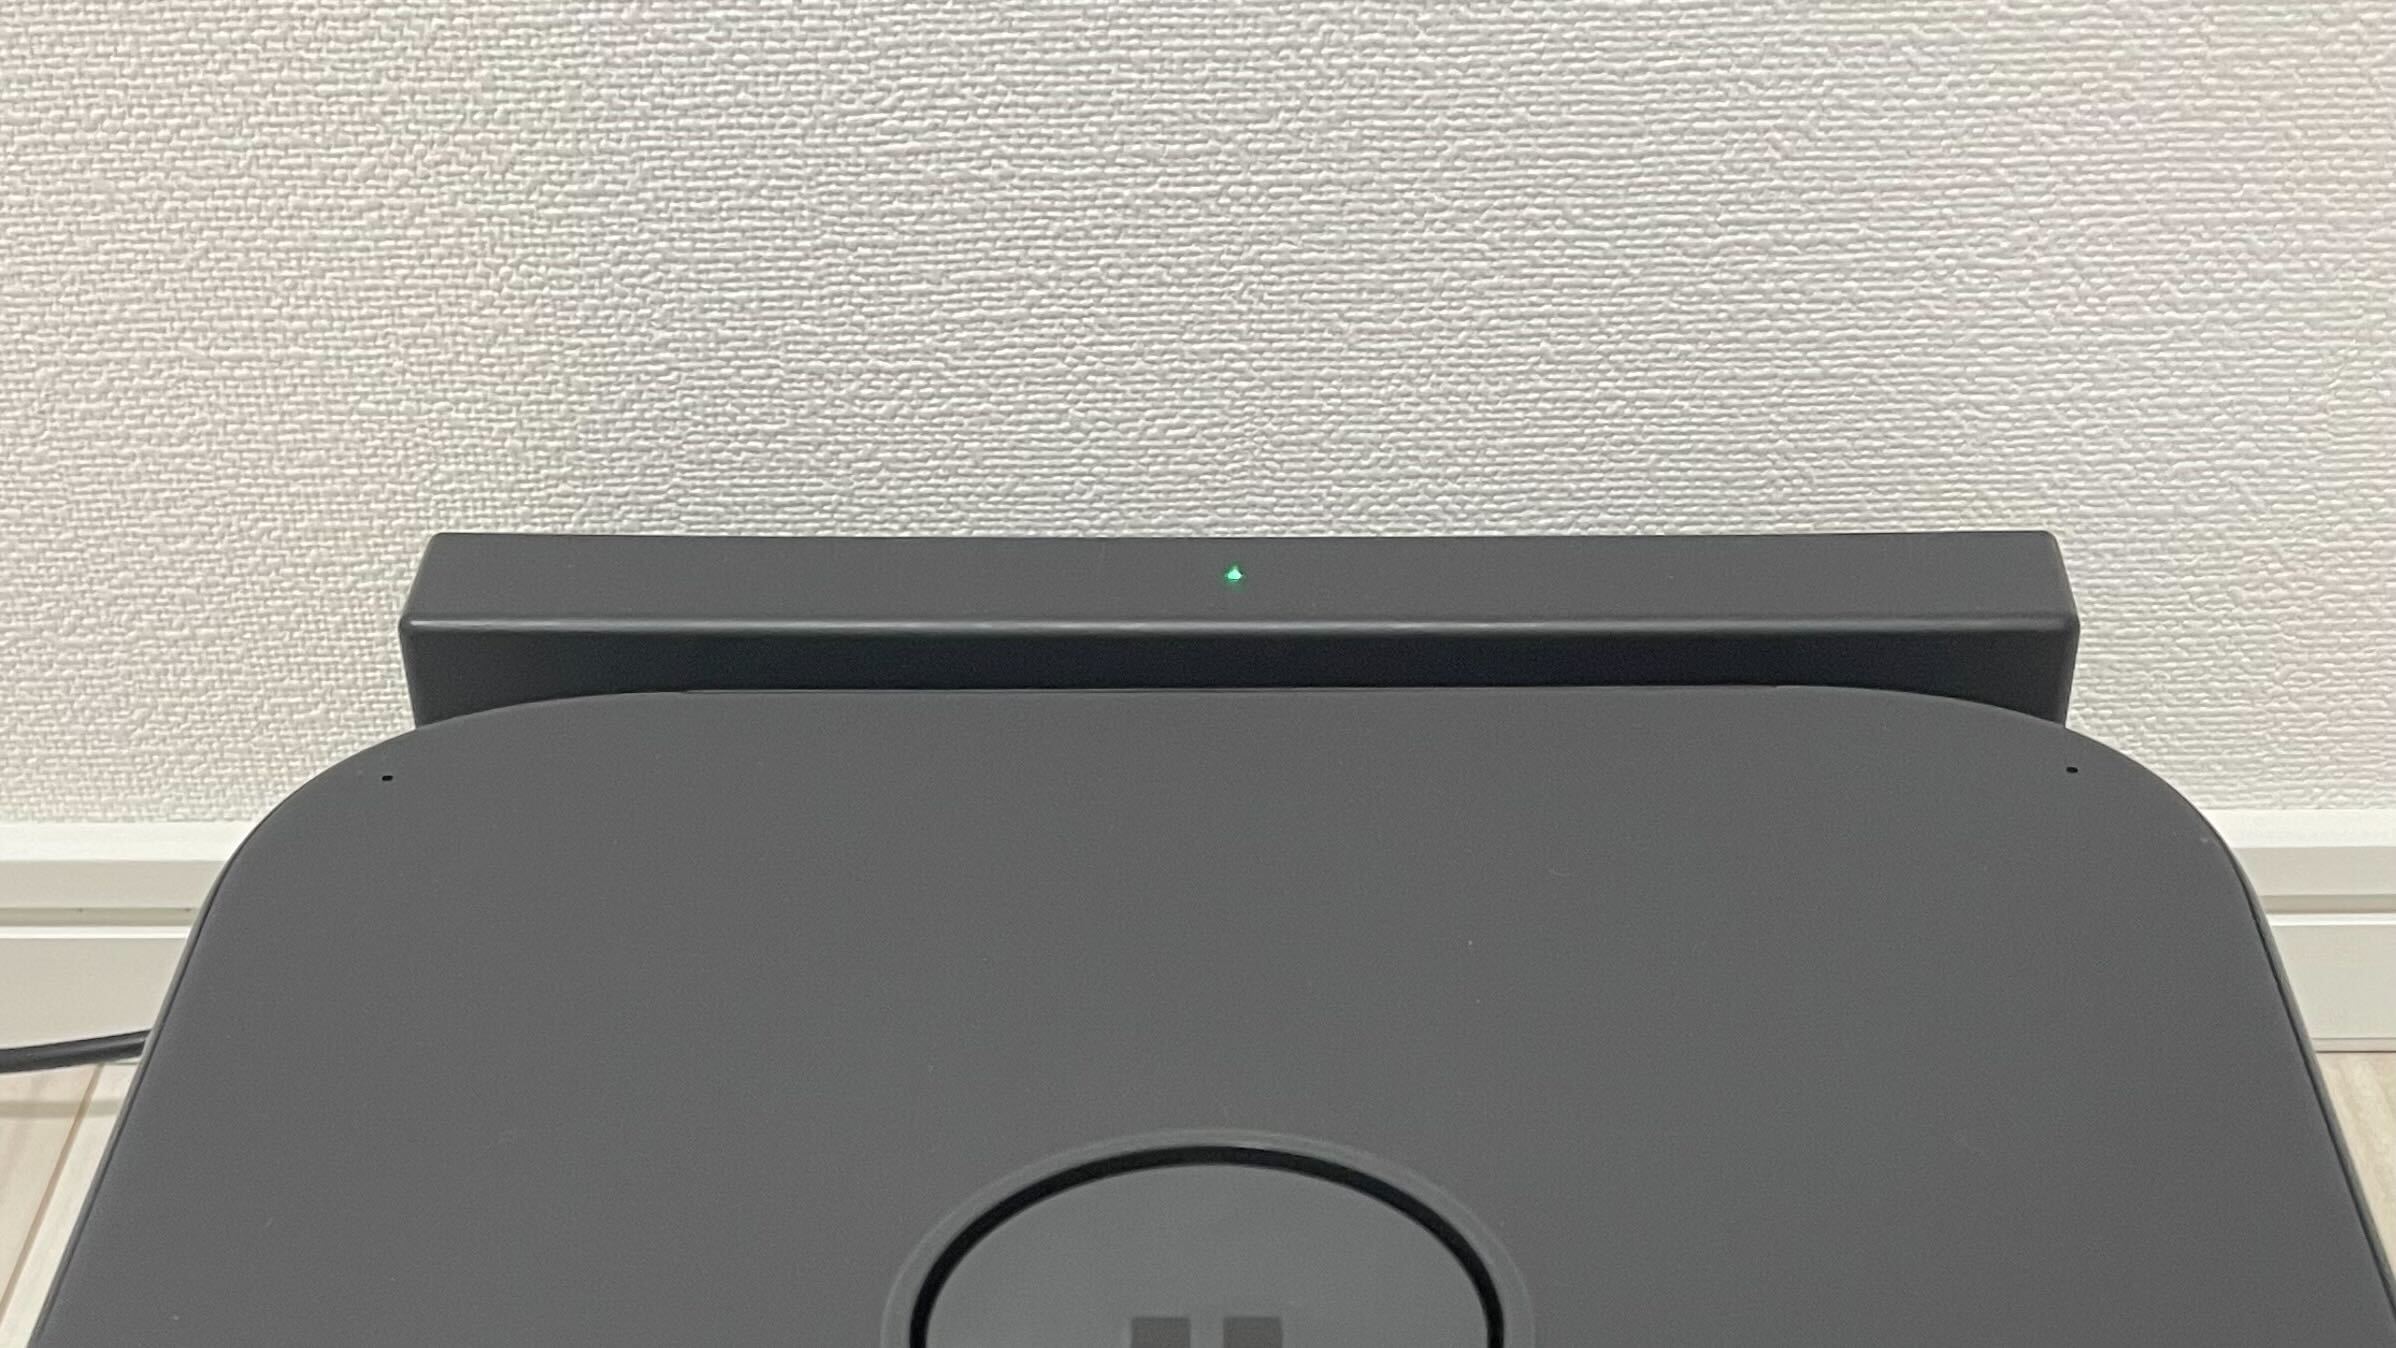
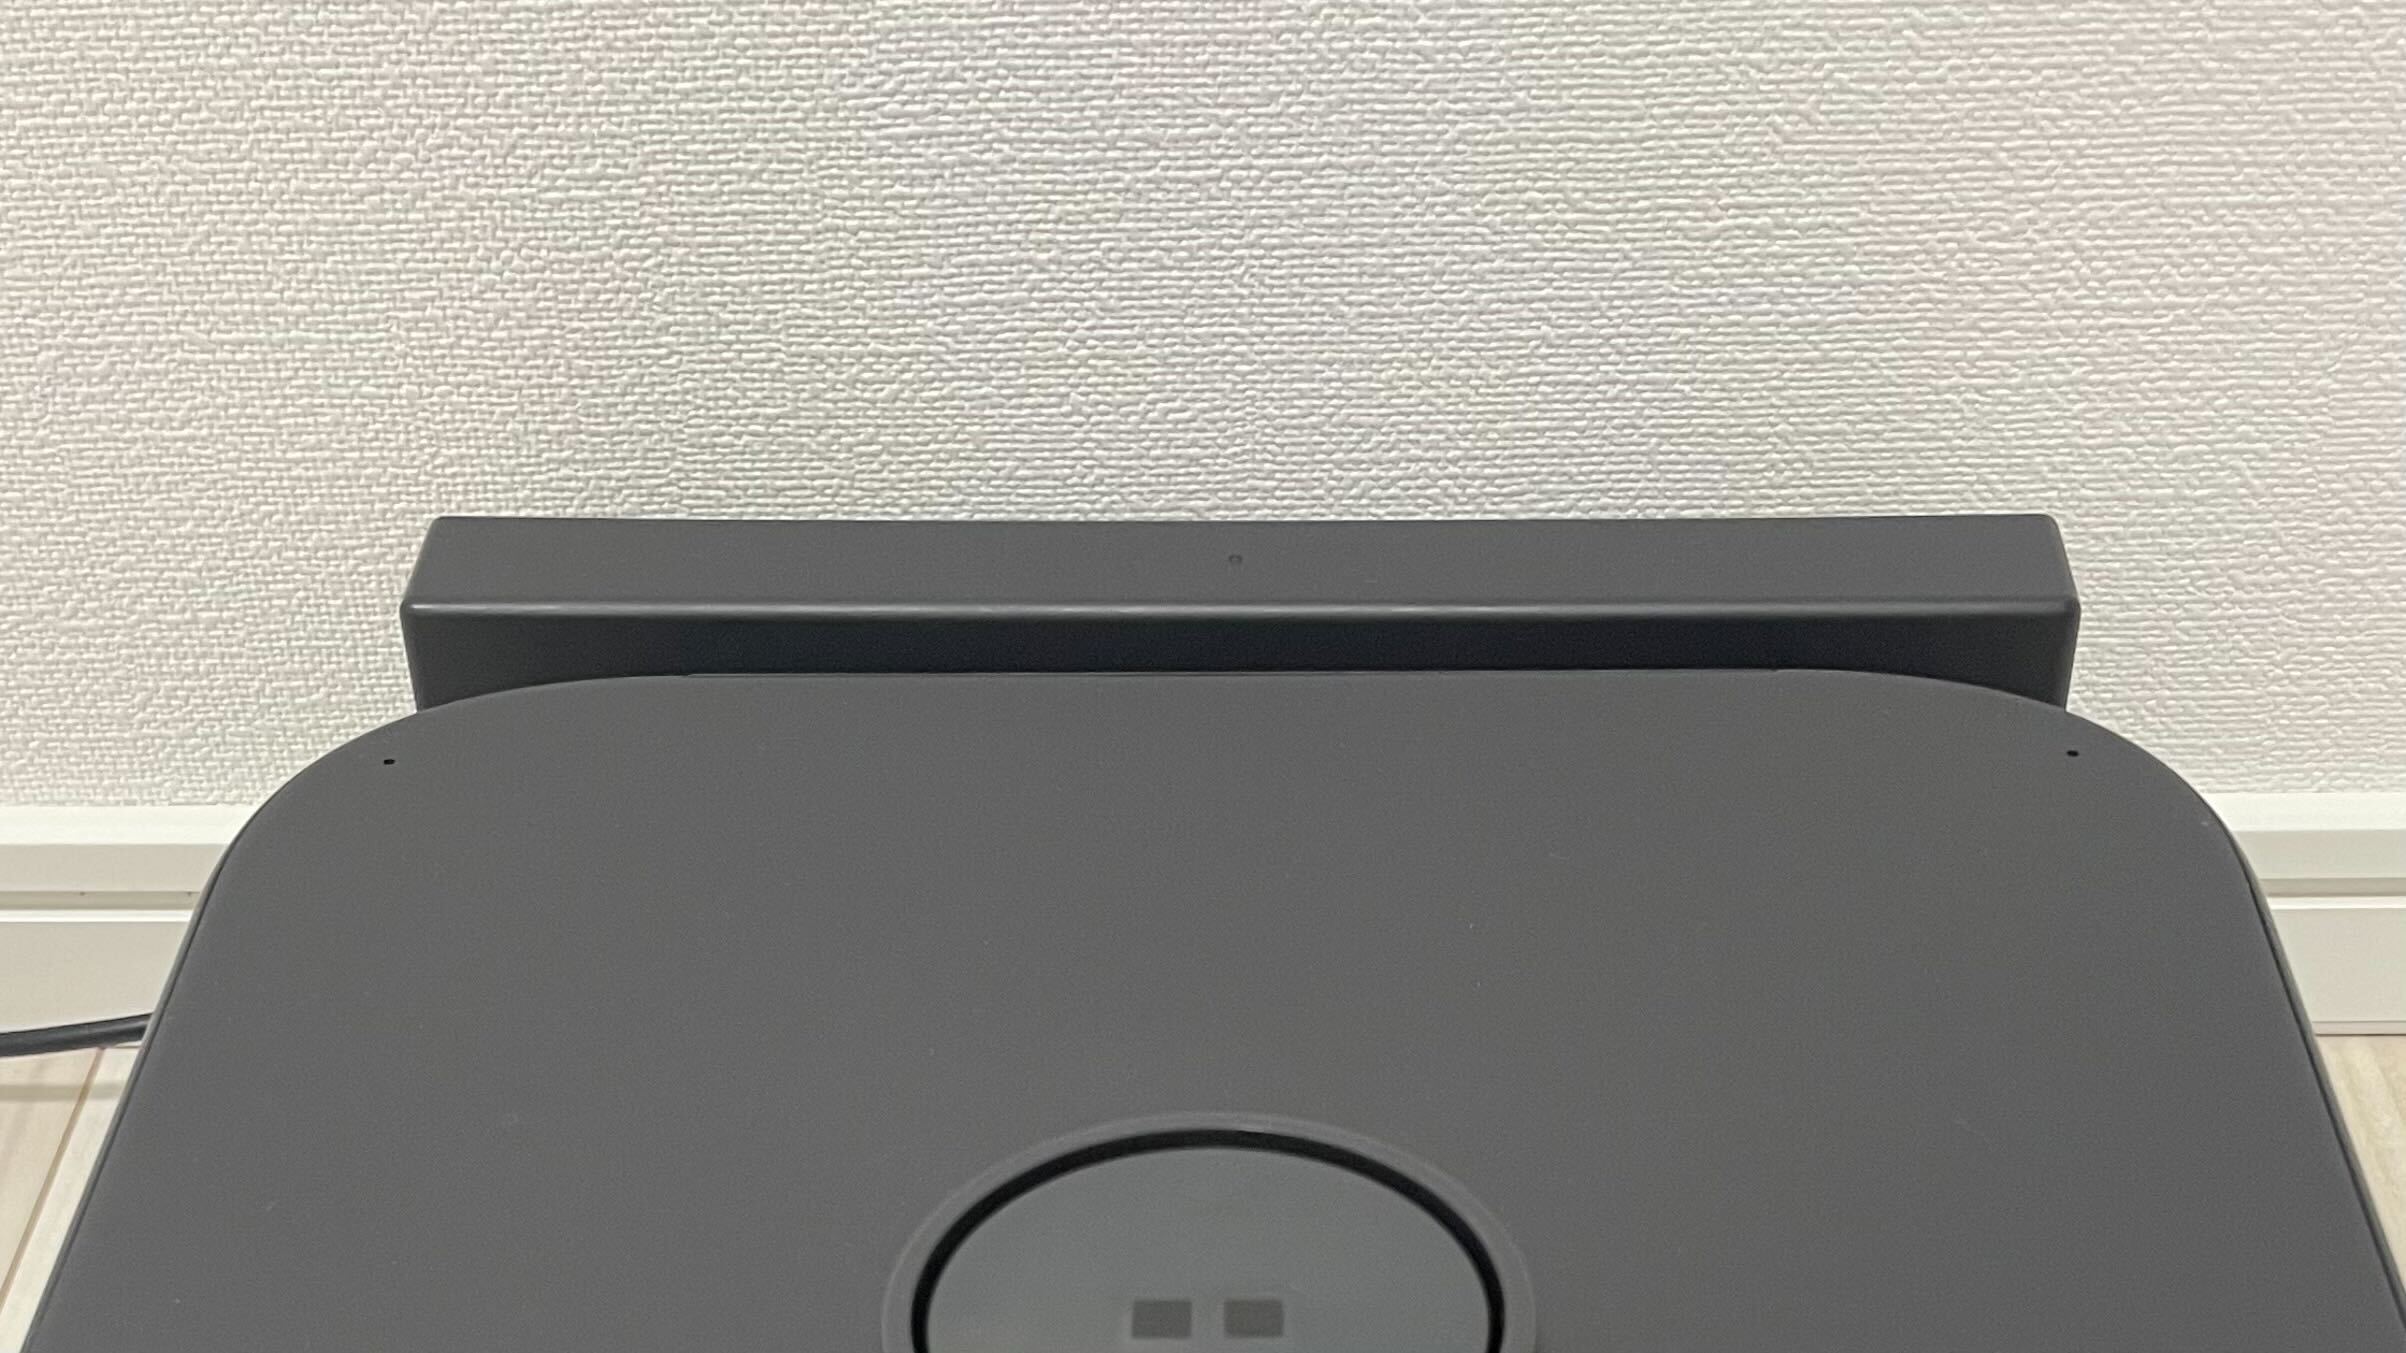
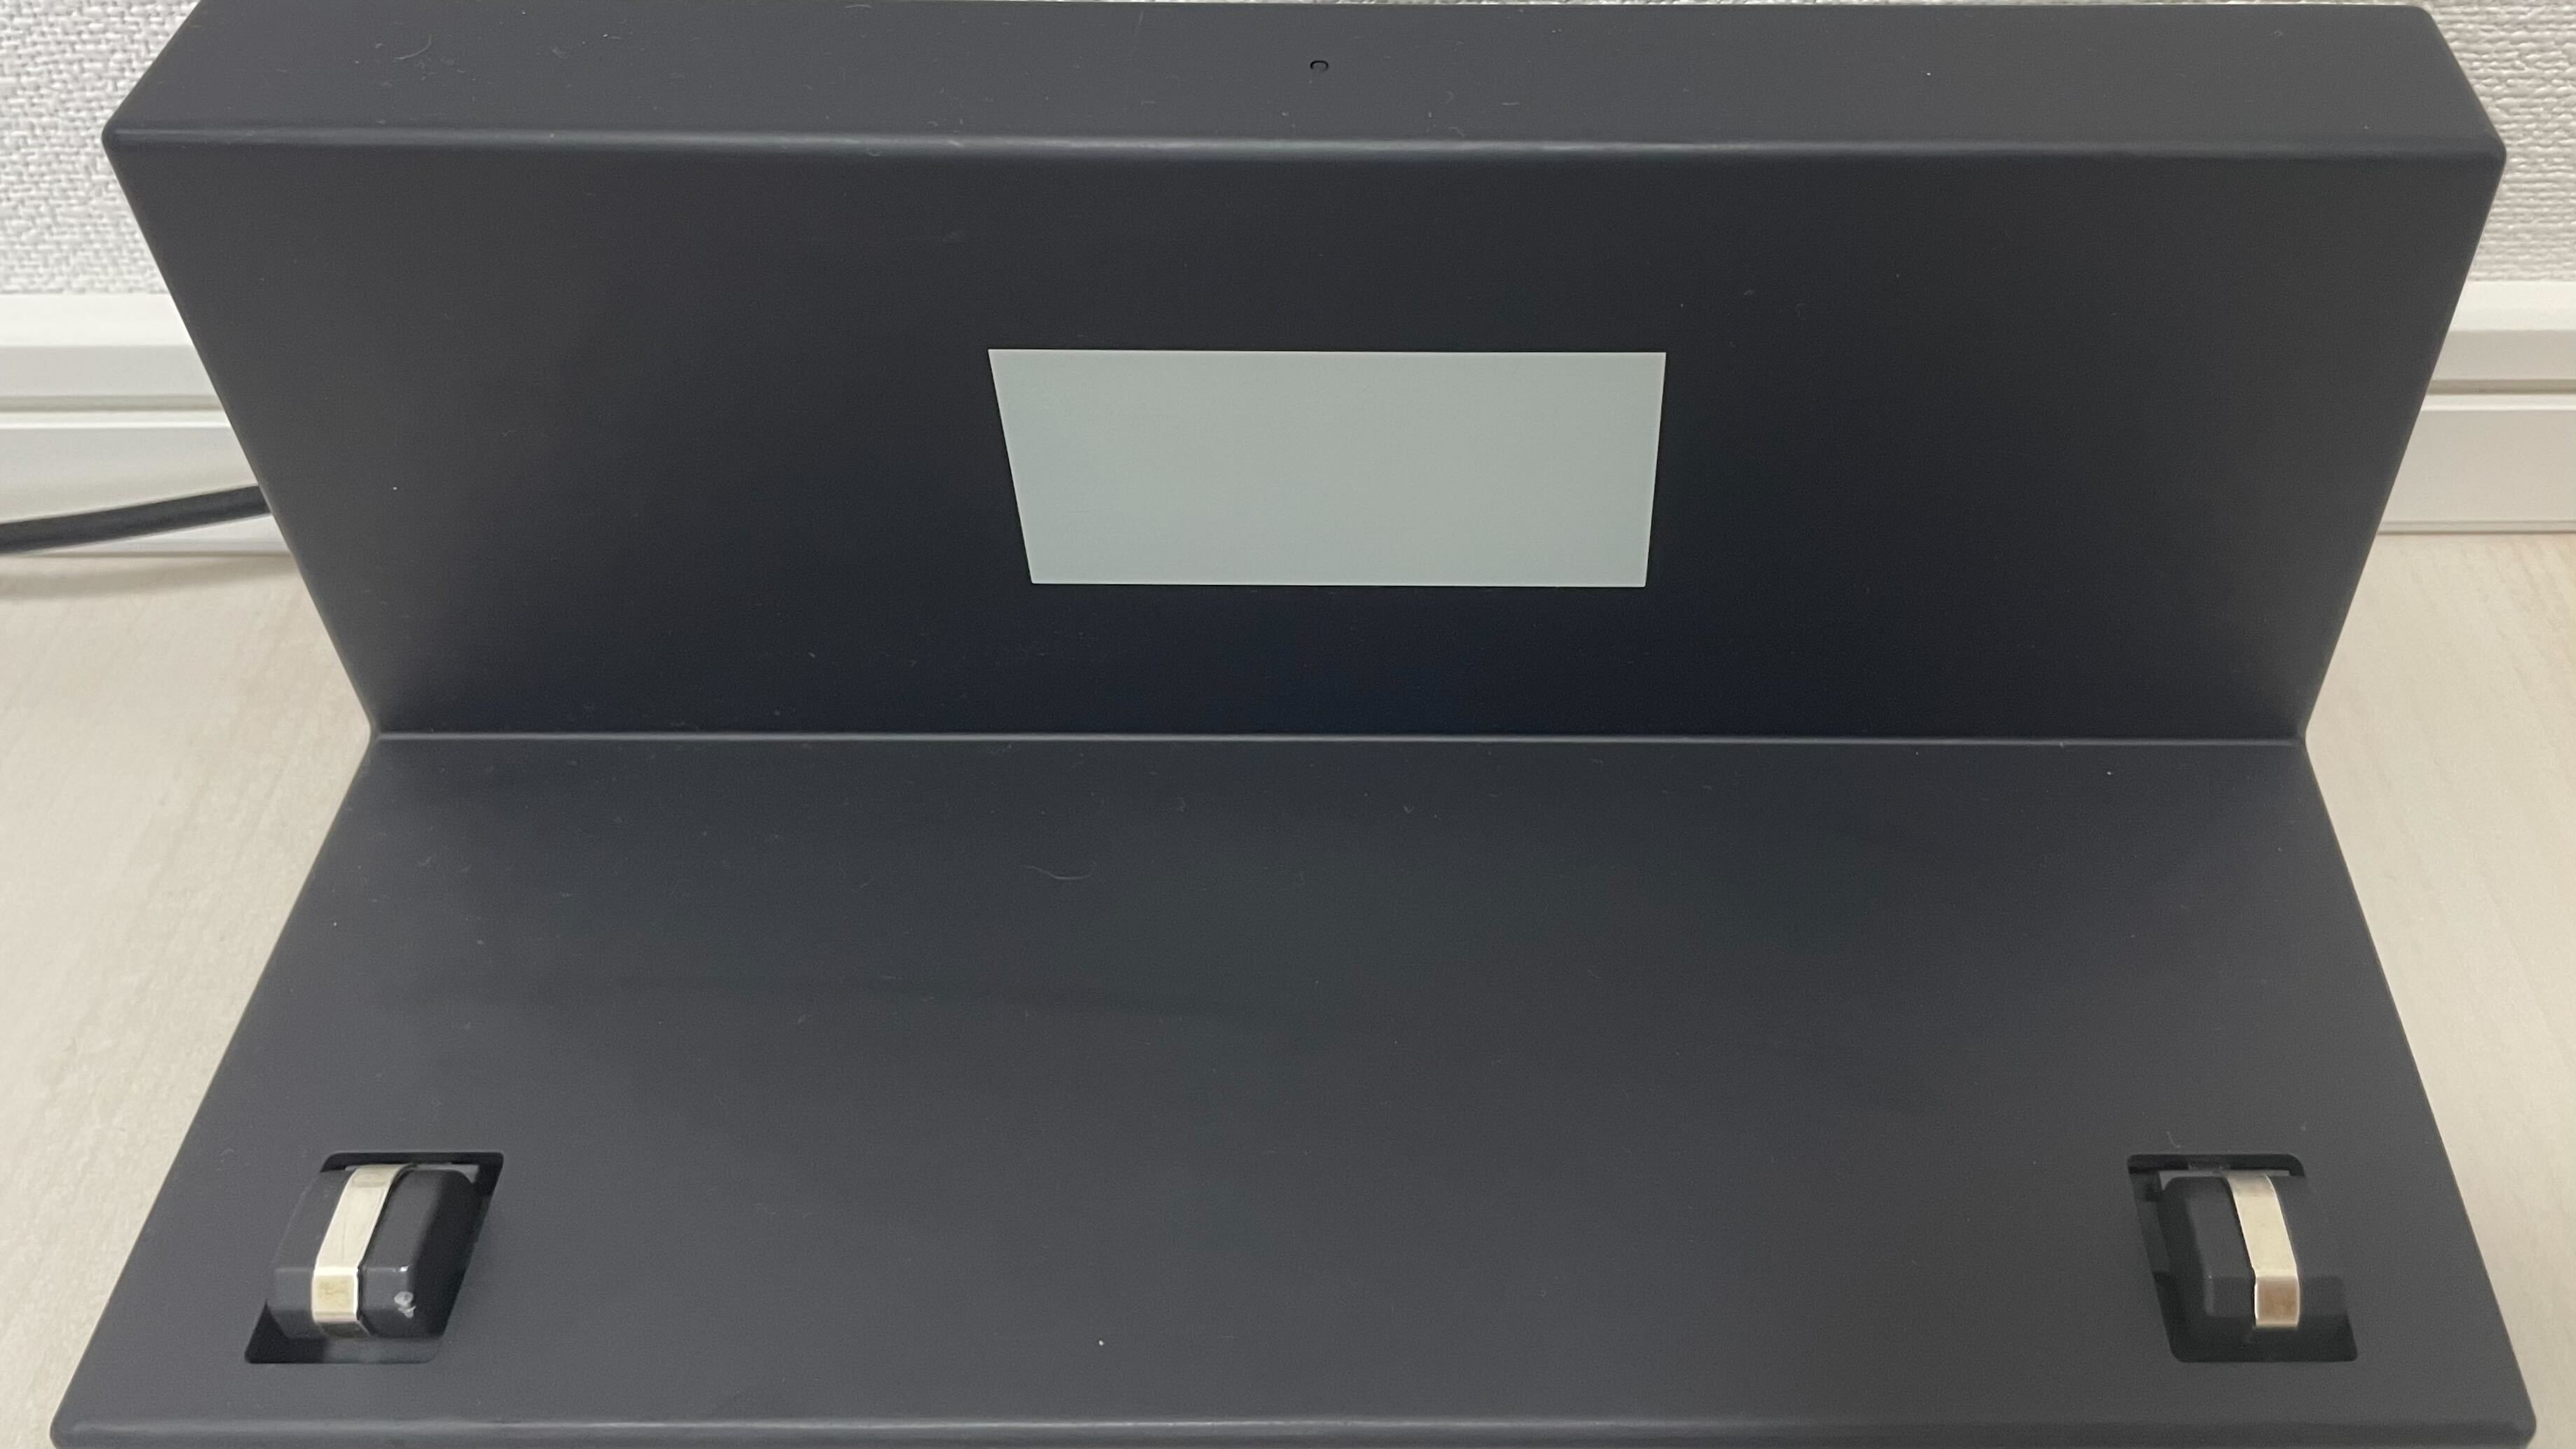
Confirm that power is reaching the dock. Look at the LED on the charging dock:
- Solid green: The dock has power — go to Step 3.
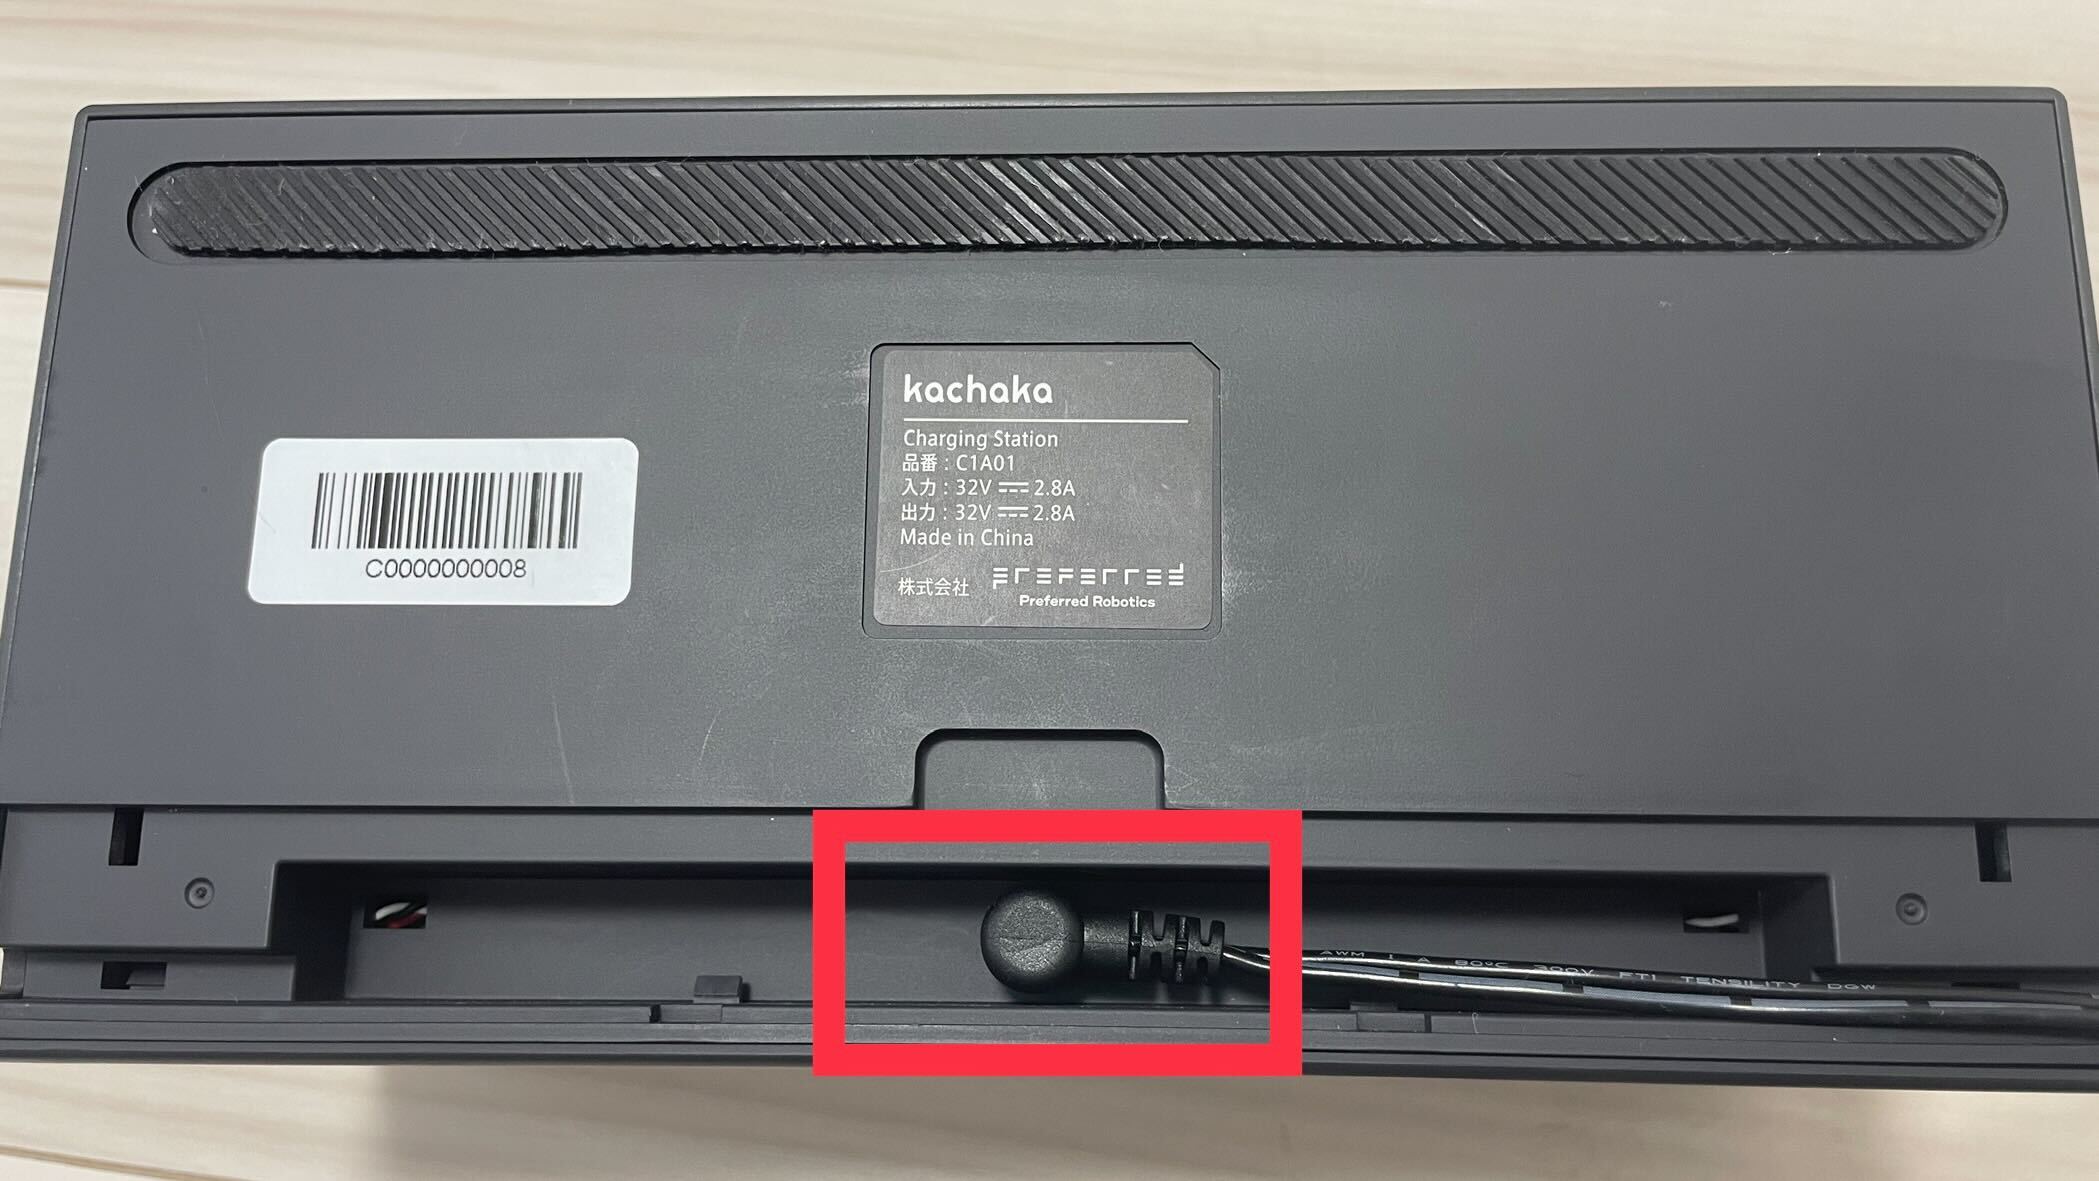
- Off: Check the following two things.
- Dock connection: Make sure the AC adapter’s plug is fully inserted into the dock’s socket, with no loose or partial connection.
- Clean terminals: Inspect the dock’s metal charging terminals for dust or grime, and check that the raised contacts are intact and not deformed. If the terminals are dirty, wipe them gently with a dry cloth — never use water or cleaning agents.
Step 3: Press the power button, then check the body LED
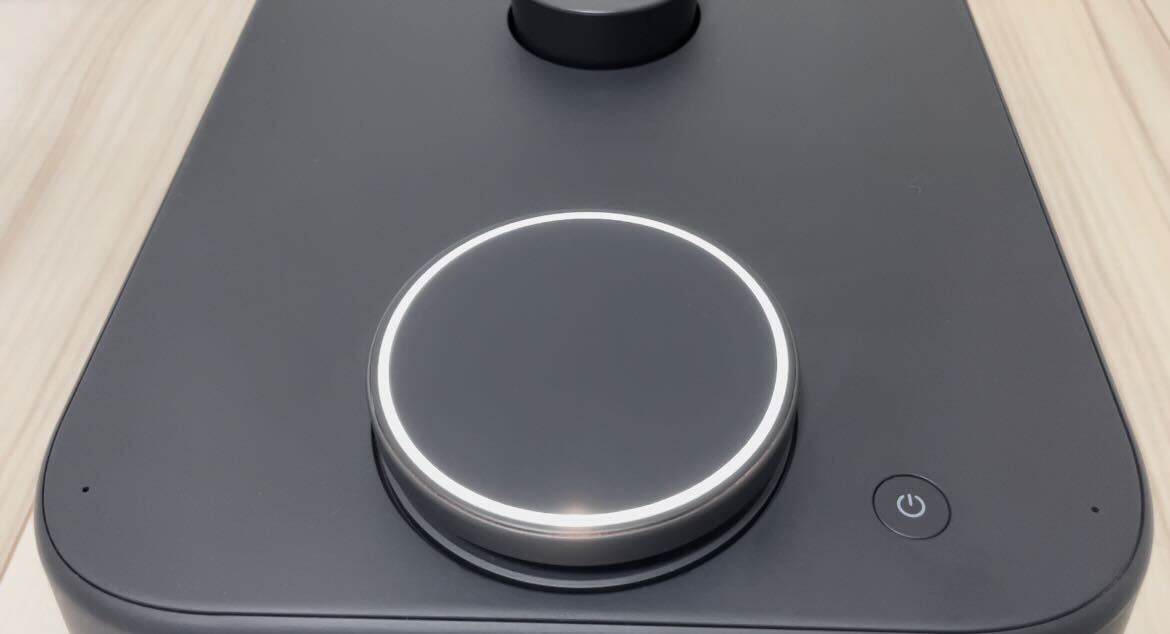
With the unit sitting firmly on the dock, press and hold the power button for about 3 seconds (until the LED ring lights up) and watch how the body’s LED ring responds. For how to power on and off, see Power On and Off.
- Solid white: It’s starting up normally — go to Step 4.
- Completely off: Lift Kachaka off the dock, set it back on, wait about 1 minute for it to reconnect to power, then press and hold the power button for about 3 seconds until the LED ring lights up.
- Blinks yellow 3 times: The battery is too low to start. Let it charge on the dock for a while, then try again.
- Rotating yellow: Usually a low battery or battery-overheat protection. Let the unit sit, charge, and cool down, then try again.
For the full meaning and handling of the yellow patterns, see the LED Status Light Reference.
Step 4: After the white LED comes on
Once the white LED lights up, keep watching the LED ring:
- Slow rotating white blink: It’s booting up — this is normal. Wait patiently about 3 to 5 minutes for startup to finish.
- Slow white blink, then it goes dark: Lift Kachaka off the dock, wait about 10 seconds, set it back on, and press and hold the power button for about 3 seconds until the LED ring lights up to restart it.
Still won’t power on
If it still won’t power on after all four checks, contact Sigma for help. Before you reach out, it speeds things up if you have the robot’s serial number ready and note which step you got stuck on and what the LED was doing. For the full list of details to provide, see Reporting Faults and Providing Investigation Info.
Screens